
I’ve now assembled two BuildSpark Linear Actuator Kits. I have lots of good things to say about them – they’re well conceived and designed, compact, and the 3D printed parts are better than most of the printed parts I’ve gotten from printer companies. The only part of the assembly I found cumbersome was getting the belt threaded through the holes in the carriage.
The method shown in the BuildSpark official assembly demonstration video really didn’t work well for me. Neither of my kits had belts with the natural bend to help it up into the hole, and I had great difficulty grabbing hold of the belt with any sort of tool to pull it up through.
On my first assembly, I was successful creating that bend by kinking the very end of the belt over and pinching it tightly with a pair of needle-nose pliers, then hitting it with a heat gun until it just barely started to off-gas (as indicated by the smell, or the appearance of smoke if I went too long). This created the bend in the belt that made threading a bit easier. It still wasn’t easy. Sadly I don’t have any pictures from this method.
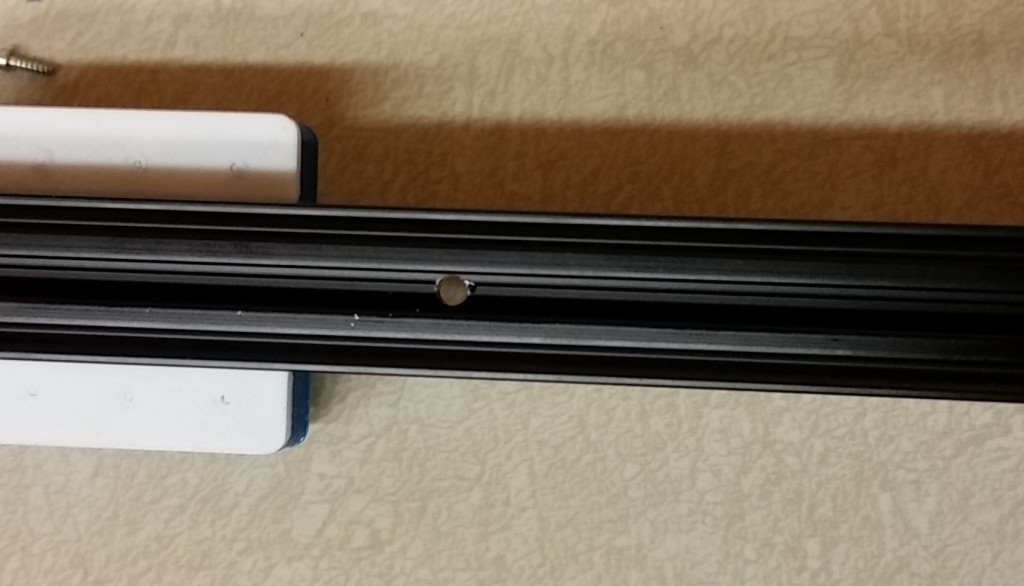
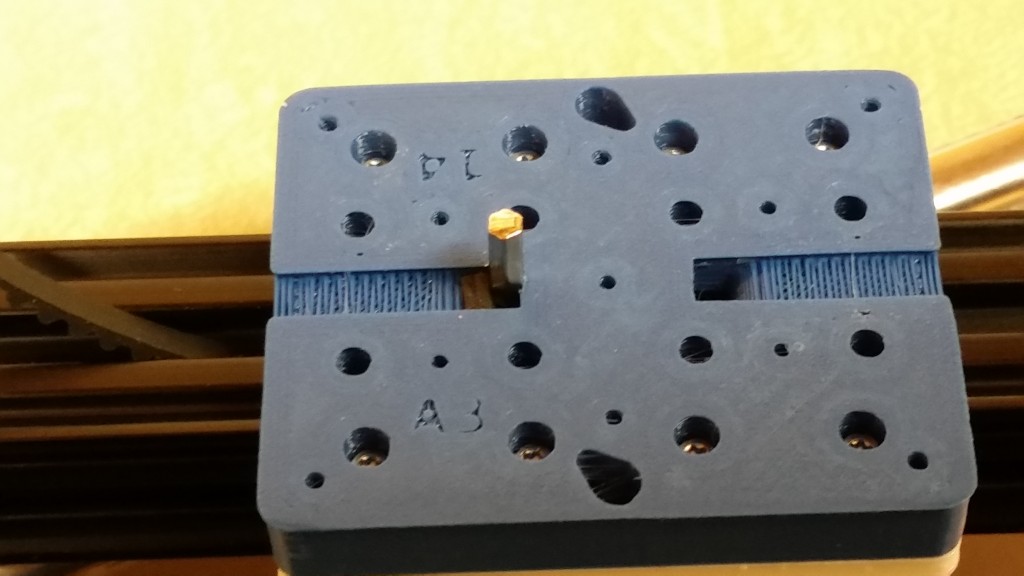
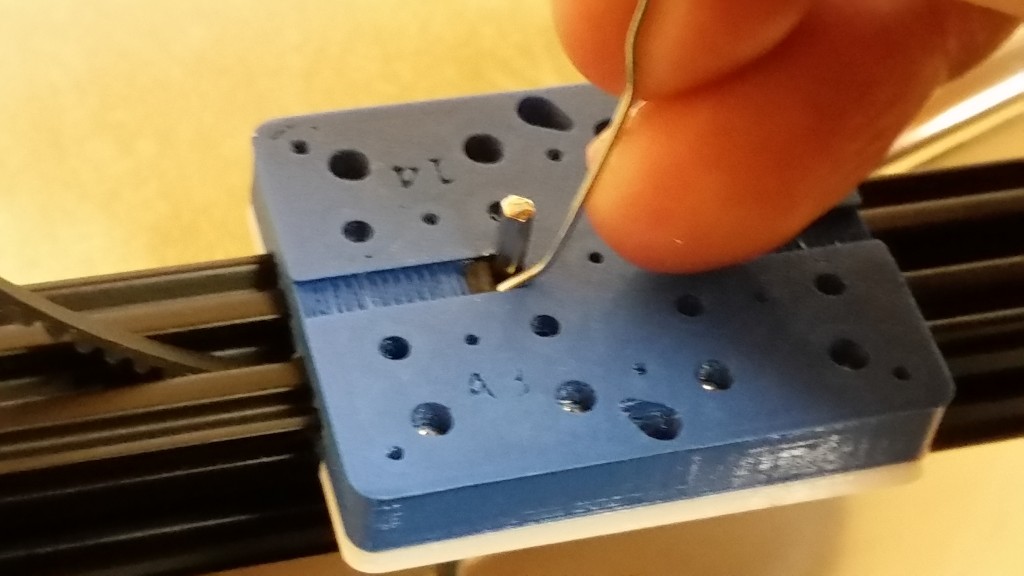
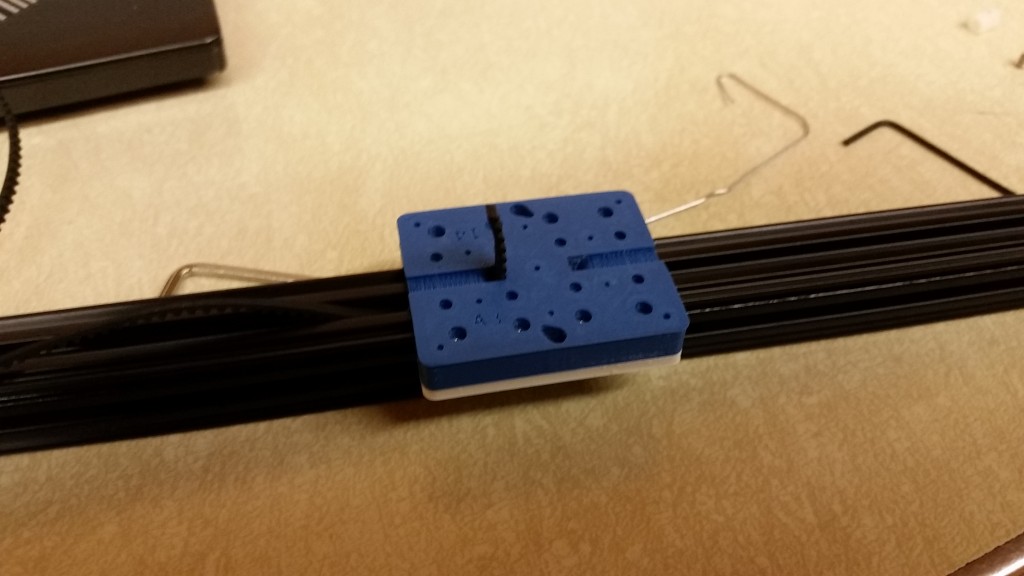
On my next assembly a few weeks later, I tried a different method that made a huge difference in assembly time. This time I drilled a small hole through the center of the aluminum extrusion so I could push the belt through the hole from behind. This worked much better.
There’s no reason the two methods couldn’t be used in conjunction, but I think either is sufficient for making the process easier.
Also, sorry for the potato quality photos – I used my phone while trying to get the job done quickly and just wanted to document the task without much extra time taken.